How to Seal a Boat Deck | Step by Step Instructions
The following steps will show you how to seal a boat or yacht deck with SANI-TRED® marine deck paint. Read on and learn how to waterproof wood for a boat.
Products Needed: PermaFlex®, LRB (Liquid Rubber Base), TAV (Thickening Activator), and Rubber Granules.
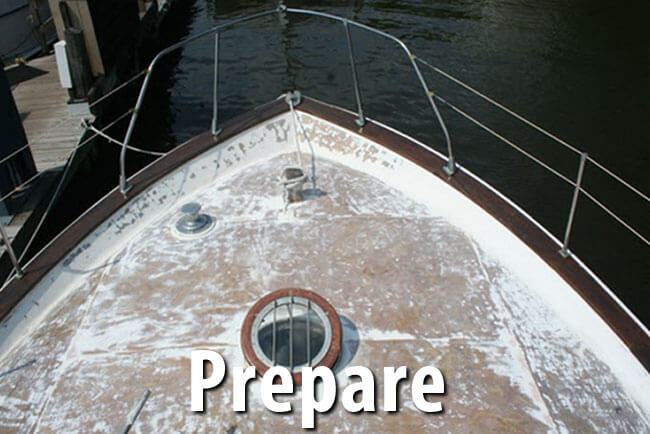
Step 1 Prepare
The first thing you would do when sealing a boat floor is prepare the marine plywood or other substrate. Remove any loose crumbly substrate; make sure the substrate is clean, dry, free of any previous applied products, and foreign matter. For best results steel, aluminum, and fiberglass should be sand blasted, promoting how to seal a boat deck by providing the best surface texture for lifetime adhesion and maximum durability. This will give the best surface texture for a life-time adhesion and maximum durability. If sandblasting is not applicable, one may try to replicate that surface using coarse sand paper.
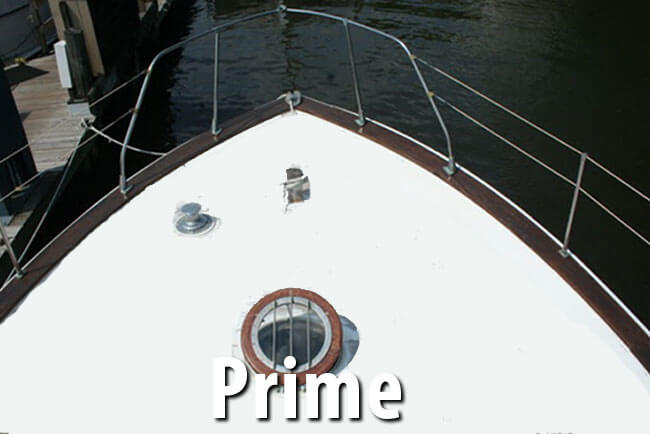
Step 2 Prime
Prime any joints, seams, cracks, holes and rough areas with 1 coat of PermaFlex (240 sq ft per gal), which is crucial for anti-slip paint for boat decks to adhere properly.
Step 3 Patch
Patch and profile any joints, seams, cracks, holes and rough areas using LRB/TAV mixture (Liquid Rubber Base, Thickening Activator). Wall/floor junctions require a 1” bead of LRB/TAV mixture. 2-parts LRB is mixed with 1-part TAV to create the thickest mixture possible (similar in viscosity as silicone caulk). Wall/floor junctions require a 1” diameter caulk bead of LRB/TAV mixture. Most cracks and seams use a 3/4" diameter caulk bead of LRB/TAV mixture. LRB can be used by itself (as a liquid membrane) to smooth out and/or level any horizontal surface and can be used like a coating over vertical and inverted surfaces.
LRB/TAV “Round Calculator Bead Chart”
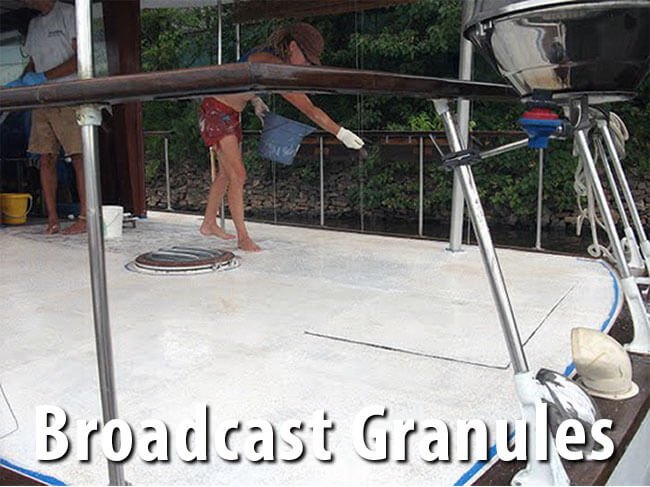
Step 4 Broadcast Granules
Apply 1 coat of PermaFlex (240sq ft per gal). While the PermaFlex is still wet, broadcast the rubber texture granules onto the wet PermaFlex. When the product has cured you will have bonded in place the texture granules and the excess granules should be removed.
- Our standard Rubber Granules are distributed at .175 lbs. per sq. ft.
- Our Smaller Rubber Granules are distributed at .25 lbs. per sq. ft.
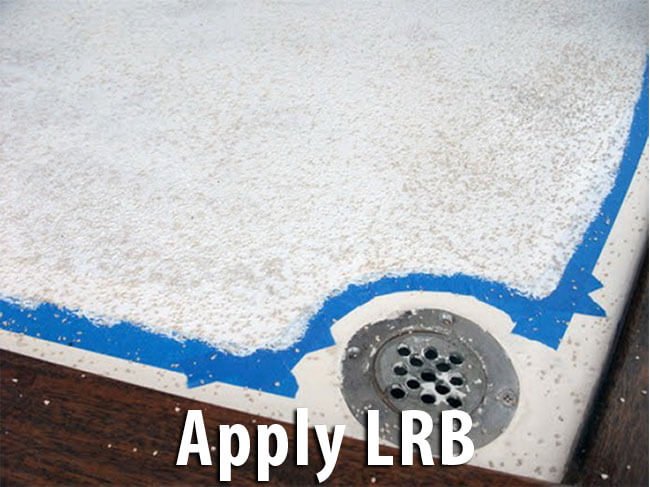
Step 5 Apply Liquid Rubber Base
Apply 1 coat of LRB over top of the texture granules. The amount of LRB used in this step will determine the amount of texture you will have in this finished floor. If less texture is desired, apply more LRB in either 1 or multiple applications. Once the LRB has cured enough to walk on, proceed to the next step.
- If you are using the standard size Rubber Granules (approx 1/16” in overall size as shown in the photos below) then you would apply the LRB at 60 sq. ft. per gal.
- If you are using the smaller Rubber Granules then you would apply the LRB at 80 sq. ft. per gal.
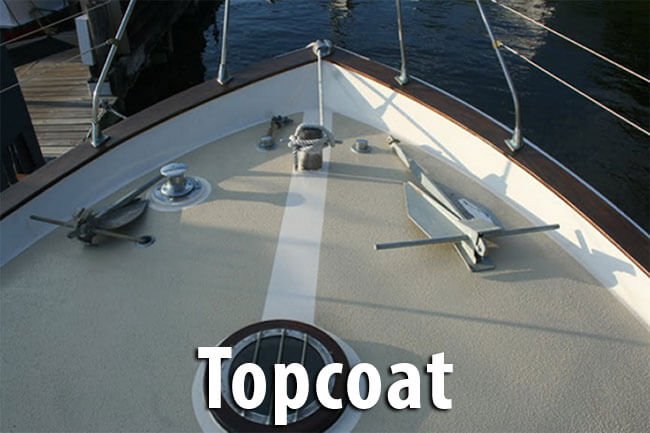
Step 6 Topcoat
Topcoat using 1 coat of PermaFlex (240 sq ft per gal).

